

In the previous post, we’ve dockerized our ASP.NET Core application. In this post, we are going to add a MySQL database as another container and connect it with our application. Since we’ll have multiple containers running we are going to introduce the Docker Compose tool which is one of the best tools for configuring and running multi-container applications.
Docker Compose comes together with the Docker installation on the Windows machine so you should be all set.
The starting point source code can be found on the docker-series-dockerfiles-end branch of our docker-series repo on GitHub.
So let’s see what we are going to go through in this article:
- What is Docker Compose?
- Adding Docker Compose to Our Application
- Building the Image With Compose
- Adding a MySQL Database With Docker Compose
- Docker-Compose Up/Down Demonstration
There is a lot to cover, so let’s start.
What is Docker Compose?
As we already mentioned in the intro, Docker Compose is a tool for defining and running multi-container applications.
But how does it do that?
Docker Compose uses a YAML file to define the services and then run them with a single command. Once you define your services, you can run them with the docker-compose up command, and shut them down with the docker-compose down command.
If you’ve followed along with the Docker Series you might have noticed that running Docker images can get pretty complicated. This is not such a big problem once you learn what each Docker command does, but once you have multiple images, you can imagine the pain of running all of them manually.
That’s where Docker Compose comes in.
Is that all it does?
Well, not quite.
Other features of Docker Compose include:
- Using project names to create multiple isolated environments on a single host
- Creating a network inside the environment
- Preserving the volume data that your containers used
- Only recreating the containers that have changed by caching the configuration
- Allowing usage of variables inside the YAML file so you can customize the configuration for different environments and users
- Working well with continuous integration tools (like TeamCity for example)
Overall, Compose is a nifty and powerful tool for managing your multi-container apps, and we are going to see just how to use it for our ASP.NET Core App by adding the MySQL image as our database container.
Let’s drill down into it and see how awesome Compose can be.
Adding Docker Compose to Our Application
Compose relies on a YAML file. This file is usually called docker-compose.yml and it’s placed at the root of our project.
So let’s start by adding a docker-compose.yml file to the root of our solution.
Once we’ve created the file, we can start adding some commands to it:
version: '3.0'

services:
   accountownerapp:
     image: codemazeblog/accountowner:runtime
     ports:
       - "8080:5000"
This is the simplest of Compose files, and it’s practically the same thing we did with the
docker run command in the last part of the series.
To jog your memory, we used to run our application like this: docker run --rm -it -p 8080:5000 codemazeblog/accountowner:runtime.
Now the only command we need to run to achieve the same result is docker-compose up.
As you may see, the docker-compose.yml contains the set of services. In our case, this is just our application, but soon we’re going to add one more service to it. We’ve described what image we want to run and which port we need to expose.
We can run our services in the background by adding -d flag: docker-compose up -d. In that case, we would need to stop the service(s) with docker-compose down.
One thing to note here is that if we quit a container with Ctrl+C, it won’t kill the container or the network created by Compose. To make sure you release the resources you need to run docker-compose down.
Building the Image With Compose
Ok, so until now, we’ve just run the existing image with docker compose. But if we make some changes to the application or the Dockerfile, Compose would still run the image we’ve built before those changes.
We would need to build the image again with the docker build -t codemazeblog/accountownerapp . command, and then run the docker-compose up command in order to apply those changes.
To automate this step we can modify our docker-compose.yml file with the build step:
version: '3.0'

services:
   accountownerapp:
     image: codemazeblog/accountowner:runtime
     build:
       context: .
     ports:
       - "8080:5000"
The build step sets the context to the current directory and enables us to build our image using the
Dockerfile defined in that context.
So, now we can add the --build flag to our docker-compose command to force the rebuild of the image: docker-compose up --build.
Now try running the command and see for yourself if that’s the case. We have removed the need for the docker build command just like that.
Okay, great.
Let’s move on to the main part, and where the real fun begins.
Adding a MySQL Database with Docker Compose
In part 1 of the series, while preparing our ASP.NET Core application for dockerization, we switched from the MySQL database to the in-memory one. We did this in order to demonstrate Docker commands easier.
Now that we introduced Docker Compose, we can revert the changes we made to the ServiceExtensions.cs class:
public static void ConfigureMySqlContext(this IServiceCollection services, IConfiguration config)
{
	var connectionString = config["mysqlconnection:connectionString"];
	services.AddDbContext<RepositoryContext>(o => o.UseMySql(connectionString));
}
Now, we can start using MySQL again.
There is one more thing we need to change, and that’s the connection string in the appsettings.json file since we don’t want to use the root user. We are also changing the server from localhost to db. You’ll see why in a moment:
"mysqlconnection": {
    "connectionString": "server=db;port=3306;userid=dbuser;password=dbuserpassword;database=accountowner;"
}
Okay, excellent.
Now that we prepared our application, let’s add the MySQL image to our docker-compose.yml. We are going to use mysql:5.7 image since it’s compatible with our application:
version: '3.0'

services:
   db:
     image: mysql:5.7
     environment:
       MYSQL_RANDOM_ROOT_PASSWORD: 1
       MYSQL_DATABASE: accountowner
       MYSQL_USER: dbuser
       MYSQL_PASSWORD: dbuserpassword
     volumes:
       - dbdata:/var/lib/mysql
       - ./_MySQL_Init_Script:/docker-entrypoint-initdb.d
     restart: always

   accountownerapp:
     depends_on:
       - db
     image: codemazeblog/accountowner:runtime
     build:
       context: .
     ports:
       - "8080:5000"

volumes:
    dbdata:
So, as you may see, we added the db service to our
docker-compose.yml. This service name is also a server name for that container and that’s why we’ve used it in our connection string. In the db service, we are configuring the MySQL container once we run the image. A MySQL image has some predefined environment values that it looks for while initializing.
For example:
MYSQL_RANDOM_ROOT_PASSWORD: 1sets the random password for the root user. This password will be shown in the console outputMYSQL_DATABASE: accountownercreates the “accountowner” databaseMYSQL_USER: dbusercreates the user “dbuser”MYSQL_PASSWORD: dbuserpasswordgenerates the password for the user “dbuser”
After that, we create two volumes: one for the database data, and one to map our init.sql script that will create database tables and populate them with data.
MySQL container will use the first volume to save all the data to the /var/lib/mysql directory.
With the second volume, we are mapping our scripts directory /AccountOwnerServer/DbScript to the docker-entrypoint-initdb.d directory. Every script that is located in the docker-entrypoint-initdb.d directory will be executed in the alphabetical order.
The important thing to note here is that these environment variables are set only during the first initialization of the container. After that, you’ll have to make modifications to the container manually through the MySQL CLI.
You can access the running container by typing docker exec -it <mysql-container-name> bash.
With restart: always we are instructing Docker Compose to restart our service in case the container goes down for whatever reason.
And finally, we’ve added depends_on: - db to our app service, to make db service be the first to load.
Docker-Compose Up/Down Demonstration
We’re all set to run our ASP.NET Core app and use MySQL as a preferred persistence provider.
And how do we do that?
Well, we simply type docker-compose up --build and watch the magic happen. If you don’t have mysql:5.7 image on your host machine, you’ll probably have to wait a little longer because Docker will be pulling the image from Docker Hub.
Once everything is started, we can navigate to http://localhost:8080/swagger and play around with the API. You’ll see that some owners and accounts already exists and that’s because we’ve populated our database using the init.sql script.
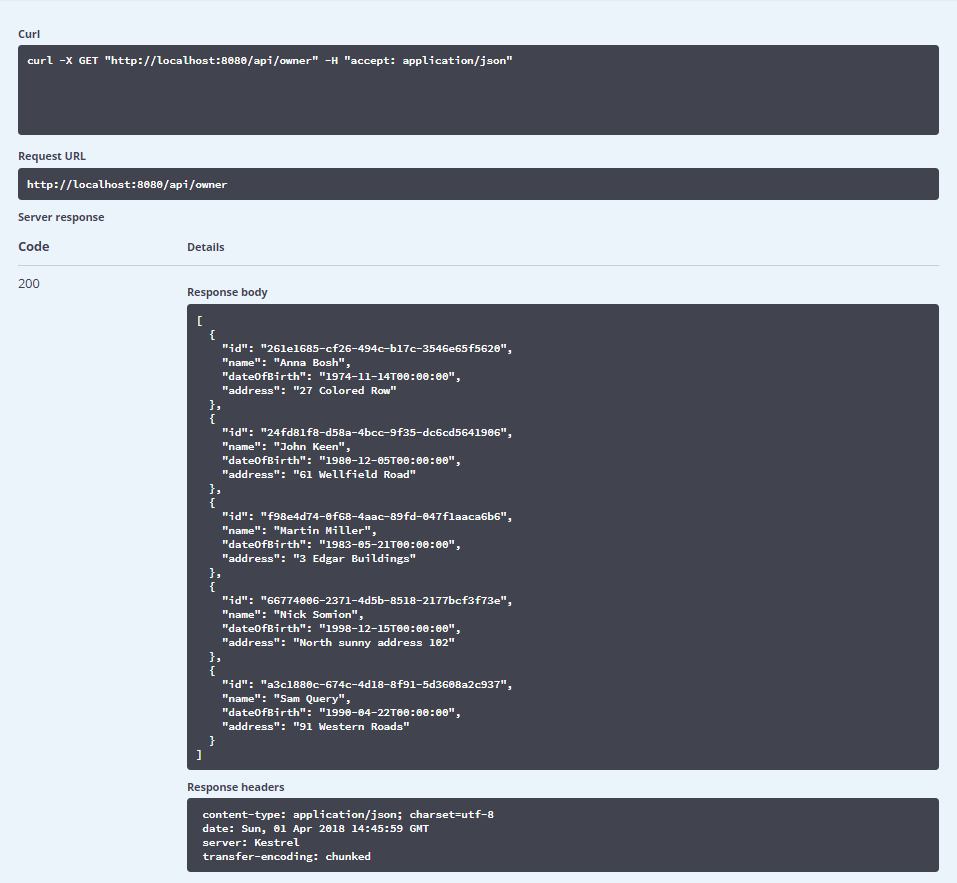
If we try to get owners, our your response should look like this:
What do you think would happen if we add a new owner to our database and do a Ctrl+C right now? Would the owner be there if we run docker-compose up again?
The answer is: YES because by doing Ctrl+C in the command prompt we won’t delete the volumes. Even if we do the docker-compose down, we won’t destroy the volumes created by previous containers.
If we want to delete the volumes for any reason, there is a special flag we can add: docker-compose flag -v. This flag will tell Docker Compose explicitly to destroy any volumes created by the containers.
Now that we understand how docker-compose up and docker-compose down work, we can wrap this part up.
Conclusion
In this part, we have gone through the basics of the Docker Compose tool.
We’ve learned how to make a Compose file and how to make it build and run our images with the docker-compose up and docker-compose down commands.
Docker Compose has allowed us to easily add a MySQL database container that our ASP.NET Core app can persist its data in. This setup will help us in the next part where we are going to learn how to make a local registry and push our images to it instead to DockerHub.
You can find the complete source code of this part on the docker-series-docker-compose-end branch of our docker-series repo on GitHub.

