

In this article, we are going to learn how to implement Facebook authentication in a Blazor WebAssembly Hosted application. We already have Google Authentication implemented, so, this will be a nice continuation to learn how we can add more external authentication providers to our Blazor application.
If you want to learn more about Blazor WebAssembly, we strongly suggest visiting our Blazor WebAssembly series of articles, where you can read about Blazor WebAssembly development, authentication, authorization, JSInterop, and other topics as well.
Let’s start.
Creating Facebook Credentials
As we did with the Google Authentication, we have to create credentials for Facebook authentication as well. So, first, we have to visit Facebook for developers page.
If we don’t have a registered developer account, we have to register it first by clicking the Get Started menu (top-right corner). There, we have to confirm our email and contact info.
Of course, if we already have a developer account, all we have to do is to click the MyApps menu on the top-right corner of the page.
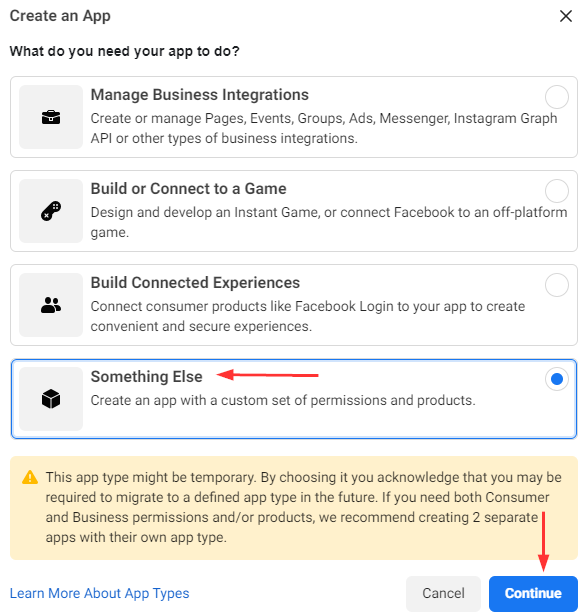
There, we are going to create an app by clicking the Create App button.
In the appearing modal, we are going to select Something Else:
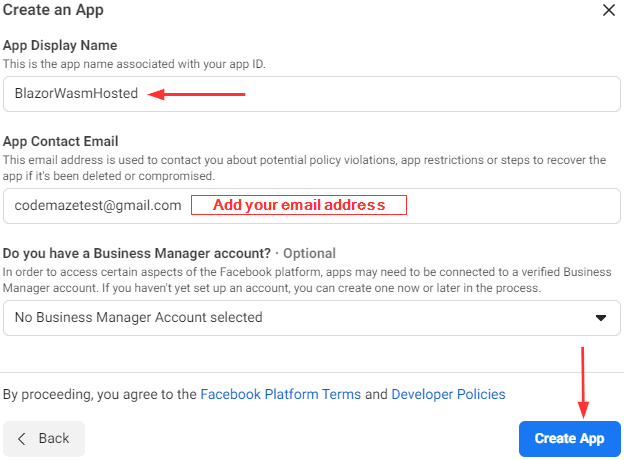
Then, we have to populate the required fields to create an app:
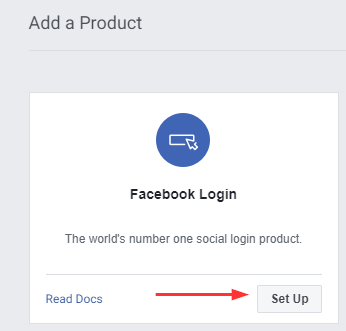
After a successful app creation, we have to add a new Facebook Login product:
As soon as we click the Set Up button, we are going to see our new product in the product list menu on the left. There, we can click the Settings link and populate the Redirect URIs field:
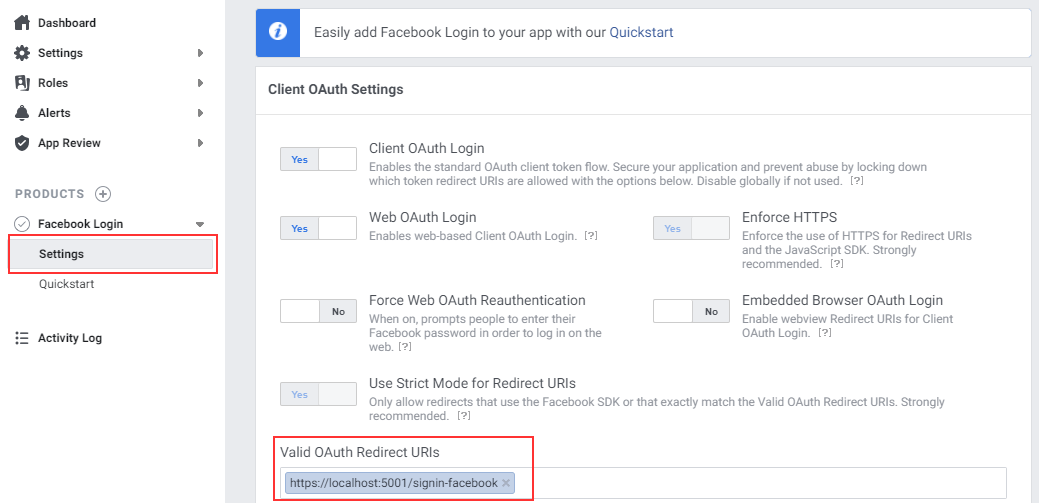
We have to click the Save Changes button after we populate the Valid OAuth RedirectURIs field.
Finally, we can go to the Settings/Basic menu and inspect our App Id and Secret, which we are going to use in a minute:

For the App Secret just click the Show button to display the secret. If it asks for your Facebook credentials, just enter them.
Integrating Facebook Authentication in a Blazor WebAssembly Hosted App
Since now we have our Facebook credentials, we can use them in our Blazor application. First, let’s add our Facebook app credentials in the appsettings.json file:
"Authentication": {
    "Google": {
        "ClientId": "883654869277-kmq16sfmrounjds8shu3nkbeirprrrav.apps.googleusercontent.com",
        "ClientSecret": "0wtwD5xPRI1dr_Iq7R6zFfbI"
    },
    "Facebook": {
        "AppId": "185713136618781",
        "AppSecret": "304f3a677725022e793cf8241a626051"
    }
},
Then, we have to install the Microsoft.AspNetCore.Authentication.Facebook package:
PM> Install-Package Microsoft.AspNetCore.Authentication.Facebook
After the installation completes, we are going to modify the Startup class or the Program class in .NET 6 and above:
services.AddAuthentication()
    .AddIdentityServerJwt()
    .AddGoogle(o =>
    {
        o.ClientId = Configuration["Authentication:Google:ClientId"];
        o.ClientSecret = Configuration["Authentication:Google:ClientSecret"];
    })
    .AddFacebook(fo =>
    {
        fo.AppId = Configuration["Authentication:Facebook:AppId"];
        fo.AppSecret = Configuration["Authentication:Facebook:AppSecret"];
    });
As you can see, we are using the AddFacebook method to allow our users to use their Facebook accounts with our application. Also, we provide our credentials to complete the configuration process.
Now, we can start the app and verify that the Register page has two buttons for external authentication:
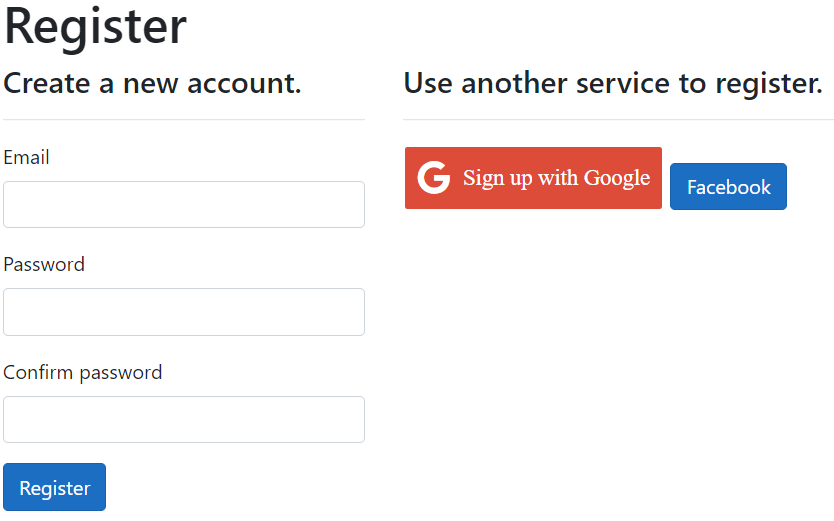
Excellent.
But, of course, we can make this look much better.
Improving Visual Experience
We have both buttons on our page, but the Facebook button is not styled as we want it to be.
To style it, we have to add a css class first in the socialButtons.css file:
.fa-facebook {
    background: #3B5998;
    color: white;
}
And of course, we have to change the Register.cshtml file:
<form id="external-account" asp-page="./ExternalLogin" asp-route-returnUrl="@Model.ReturnUrl" method="post" class="form-horizontal">
    <div>
        @foreach (var provider in Model.ExternalLogins)
        {
            <p>
                @if (provider.DisplayName.Equals("Google"))
                {
                    <button type="submit" class="fa fa-google" name="provider"
                            value="@provider.Name" title="Log in using your
                                    @provider.DisplayName account">
                        <span class="si-text">Sign up with @provider.DisplayName</span>
                    </button>
                }
                else if (provider.DisplayName.Equals("Facebook"))
                {
                    <button type="submit" class="fa fa-facebook" name="provider"
                            value="@provider.Name" title="Log in using your
                                    @provider.DisplayName account">
                        <span class="si-text">Sign up with @provider.DisplayName</span>
                    </button>
                }
                else
                {
                    <button type="submit" class="btn btn-primary" name="provider"
                            value="@provider.Name" title="Log in using your
                                @provider.DisplayName account">
                        @provider.DisplayName
                    </button>
                }
            </p>
        }
    </div>
</form>
We are doing the same thing here as we did in our previous article where we provided the Google button on the UI. Also, we modified the paragraph, adding it inside the foreach loop, to place each button in a new line.
As you already know, the Login page has similar content, so, we can do the same for the Login.cshtml file.
After all of these changes, we can start the application and navigate to the Register page:
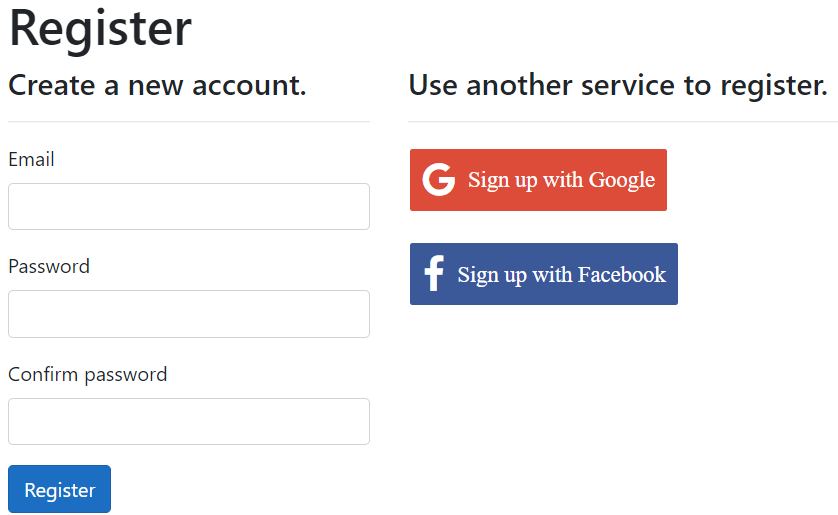
Excellent. This looks so much better.
Testing
Before we start testing this feature, we are going to remove the codemazetest account from the database (both AspNetUsers and AspNetUserLogins tables). We are doing this because the email, that we are going to use for the Facebook registration, is already used for a different user in the database. Of course, Identity will prevent us from registering the same email account twice.
After we removed the account from the database, we can click the Sign up with Facebook button and the app will redirect us to the Facebook login page:

Note: You might miss this window if you are already logged in.
Once we populate our credentials and click the Log In button, we are going to be returned to our application to confirm our email address:

Finally, after we click the Register button, the application will sign us in and redirect us to the Home page.
You can also check both tables in the database (AspNetUsers and AspNetUserLogins) to see a new user and associated external account.
Conclusion
Excellent. At this point, we have two external authentication providers enabled for our Blazor WebAssembly Hosted application.
So, in this article, we have learned
- How to create a Facebook login app with required credentials
- About Facebook authentication integration in a Blazor WebAssembly Hosted app
- How to improve our UI with the Facebook social button
Until the next one.
Best regards.

