

In this article, we’re going to learn about using Autofac in .NET projects. Autofac is a powerful third-party Dependency Injection (DI) container. Dependency Injection is one of the most important concepts in modern software development since it helps us build loosely coupled applications.
Dependency Injection is provided by the DI Container in .NET. It comes prebuilt with the official template and does not require any additional installations. With that in mind, there are third-party DI containers that can be used as a replacement for the prebuilt container.
So let’s get going.
Third-Party DI Container and Autofac
The service collection DI framework is included by default in .NET (Core). Although the default DI framework meets the minimum requirements for DI, it lacks some of the advanced functionalities. Because of the constraints, a third-party DI framework is preferred. The third-party DI container includes features such as property injection, named dependencies, and lazy instantiation among others.
As a result, a third-party DI container is preferred for larger and more complex systems.
When it comes to .NET programming, Autofac is one of the most popular third-party Dependency Injection containers. Autofac is free and open-source.
Autofac in a Console Application
Now let’s learn how to implement Autofac in a .NET application. The first prerequisite for using Autofac is installing two NuGet packages, Autofac.Extension.DependencyInjection and Autofac. We can download both via the NuGet package manager.
After the installation, let’s create a new interface called IPersonBusiness and the class that implements it PersonBusiness, respectively.
We are going to create a method that returns a list of names:
public interface IPersonBusiness
{
   public List<string> GetPersonList();
}

public class PersonBusiness: IPersonBusiness
{
   public List<string> GetPersonList()
   {
      List<string> personList = new List<string>();
      personList.Add("Code Maze");
      personList.Add("John Doe");
      return personList;
    }
}
Now that we are done with creating an interface and implementing it, we need to register the dependency. To do that, we are going to add a static method BuildContainer() to the Program class:
static IContainer BuildContainer()
{
    var builder = new ContainerBuilder();
    builder.RegisterType<PersonBusiness>().As<IPersonBusiness>();
    return builder.Build();
}
The method simply registers the required dependency and returns the IContainer type. The highlighted code registers the class with its respective interface and in our case, that’s the PersonBusiness class and IPersonBusiness interface.
Now that the dependency has been registered we can use it to resolve the dependency in our Main method:
static void Main(string[] args)
{
    var container = BuildContainer();
    var personListResolver = container.Resolve<IPersonBusiness>();
    var personList = personListResolver.GetPersonList();
    foreach (var person in personList)
    {
       Console.WriteLine(person);
    }
}
Here we simply call the static method BuildContainer and then resolve the interface IPersonBusiness. After that, we call the GetPersonList method that returns a list of strings. We print the result in the console with a loop. The application simply prints two names on the console:
Code Maze
John Doe
That’s how we easily integrate Autofac into a console application.
Configuring Autofac in a Web API Application
Though the process is very similar there are some changes we need to do. If we are working on a web application or a Web API project we need the same NuGet packages as well. We’re going to use the same interface, the same class, and a Web API project for the demonstration.
Now, we need to make certain changes in the Startup class. The first thing we need to do is to add a return type IServiceProvider to our ConfigureServices method. We are going to register our dependency in a similar to what we did in the console app:
public IServiceProvider ConfigureServices(IServiceCollection services)
{
    services.AddControllers();
    services.AddSwaggerGen(c =>
    {
      c.SwaggerDoc("v1", new OpenApiInfo { Title = "AutoFacImplementationWeb", Version = "v1" });
    });
    var builder = new ContainerBuilder();
    builder.Populate(services);
    builder.RegisterType<PersonBusiness>().As<IPersonBusiness>();
    return new AutofacServiceProvider(builder.Build());
}
First, we initialize the ContainerBuilder and then we register the interface IPersonBusiness with PersonBusiness class.
The next important thing we did is change the return type of the ConfigureServices method from IServiceProvider and we’re returning the AutofacServiceProvider to register Autofac as our IOC container.
We then need to make some changes to our Program class as well:
public static void Main(string[] args)
{
    CreateWebHostBuilder(args).Build().Run();
}

public static IWebHostBuilder CreateWebHostBuilder(string[] args) =>
    WebHost.CreateDefaultBuilder(args)
    .UseStartup<Startup>();
We will replace the method CreateHostBuilder with CreateWebHostBuilder and call the same method from the Main method.
That’s it for the initial configuration for Autofac.
Constructor Injection With Autofac
Since constructor injection is the most recommended way to use dependency injection let’s see how it works.
Let’s create a new controller PersonController in our Web API project:
[Route("api/[controller]")]
[ApiController]
public class PersonController : ControllerBase
{
    private readonly IPersonBusiness _personBusiness;
    public PersonController(IPersonBusiness personBusiness)
    {
        _personBusiness = personBusiness;
    }

    [HttpGet]
    [Route("personList")]
    public List<string> GetPersonList()
    {
        return _personBusiness.GetPersonList();
    }
}
Our controller has a IPersonBusiness field _personBusineess we assign the value to the constructor.
Now, we can simply call the GetPersonList() method using the _personBusiness variable.
Let’s test the application with Postman:
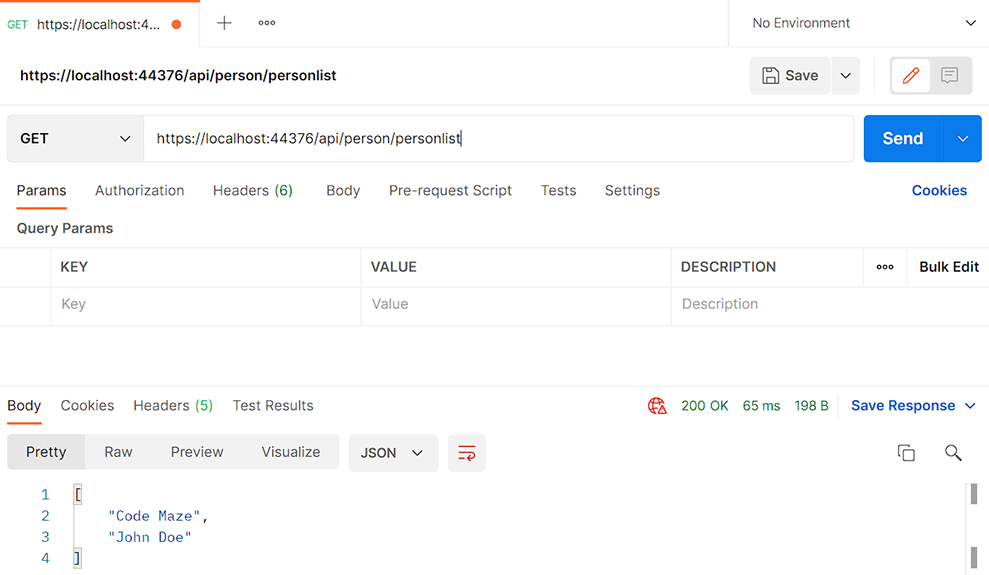
As we can see, we’ve returned the list of strings with our GET method.
Property Injection With Autofac
Even though the constructor injection is the most popular and the preferred way to use dependency injection we might need to use the property injection in some of our scenarios. With a built-in DI container, we cannot do that. Autofac supports the property injection, so let’s see how we can implement it.
Let’s create a new interface and an implementation to get the property injection working in our example. We will name the interface IStringBusiness and its implementation as StringBusiness. We’ll create a simple method that takes a string and returns the uppercase version of it:
public interface IStringBusiness
{
    string StringToUpper(string personName);
}

public class StringBusiness : IStringBusiness
{
    public string StringToUpper(string personName)
    {
        return personName.ToUpper();
    }
}
Now we have to make certain adjustments to our Startup class to implement the property injection. First, we need to change the services.AddControllers() line to services.AddControllers().AddControllersAsServices() then we need to register our interface and implementation with the line: builder.RegisterType<StringBusiness>().As<IStringBusiness>()
After the changes, we need to add a few lines that inform the controller that our registration is possible through property injection as well:
var controllersTypesInAssembly = typeof(Startup).Assembly.GetExportedTypes()
    .Where(type => typeof(ControllerBase).IsAssignableFrom(type)).ToArray();
builder.RegisterTypes(controllersTypesInAssembly).PropertiesAutowired();
The complete ConfigureServices method:
public IServiceProvider ConfigureServices(IServiceCollection services)
{
    services.AddControllers().AddControllersAsServices();
    services.AddSwaggerGen(c =>
    {
        c.SwaggerDoc("v1", new OpenApiInfo { Title = "AutoFacImplementationWeb", Version = "v1" });
    });
    var builder = new ContainerBuilder();
    builder.Populate(services);
    builder.RegisterType<PersonBusiness>().As<IPersonBusiness>();
    builder.RegisterType<StringBusiness>().As<IStringBusiness>();
    var controllersTypesInAssembly = typeof(Startup).Assembly.GetExportedTypes()
        .Where(type => typeof(ControllerBase).IsAssignableFrom(type)).ToArray();
        builder.RegisterTypes(controllersTypesInAssembly).PropertiesAutowired();
    return new AutofacServiceProvider(builder.Build());
}
With that, we’ve finished the setup for the property injection. It’s a bit more work, but let’s see what we can do now.
Let’s create a new controller, StringHelperController and add the method GetUpperCase. Then, we’ll utilize property injection to get the result:
public IStringBusiness StringBusiness { get; set; }
[HttpGet]
[Route("getUpperCase/{fullName}")]
public string GetUpperCase(string fullName)
{
    var upper = StringBusiness.StringToUpper(fullName);
    return upper;
}
The only thing we have to do is to create a public property of the type IStringBusiness. Now we’re able to call the StringToUpper method with a simple code StringBusiness.StringToUpper().
Let’s test the application via Postman to see the result:
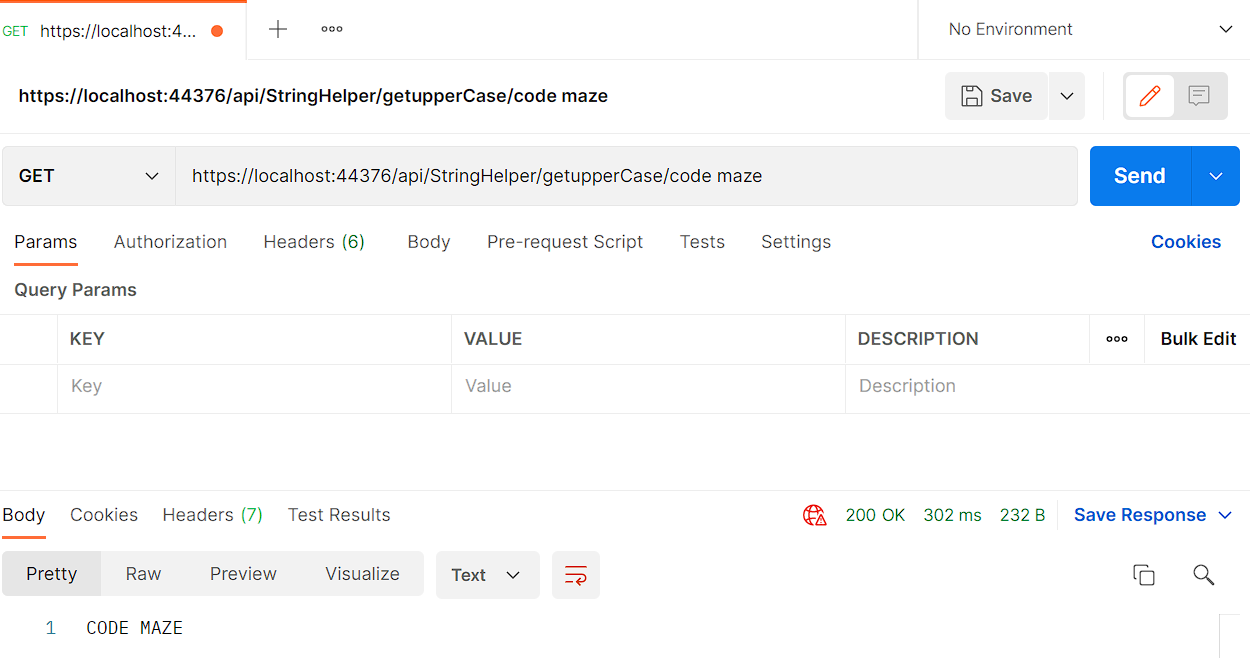
That’s it. As you can see the configuration was the hardest part.
Conclusion
There are different DI containers available on the market. In this article, we’ve covered Autofac and we’ve seen how it can replace the default DI container. We’ve also seen how we can do things that the default DI container cannot do, as the property injection.
