

We learned about Azure App Service and how to deploy our ASP.NET Core application into it from Visual Studio in the Publishing an ASP.NET Core App to Azure App Service Using Visual Studio article. In this article, we are going to learn how to configure Continuous Deployment (CD) from GitHub to Azure App Service.
First, we’ll learn how to create an App Service from the Azure Portal. Then, we’ll prepare a GitHub repository with an ASP.NET Core app. After that, we’ll configure Continuous Deployment from GitHub to the Azure App Service and confirm that it deploys the latest code. Finally, we’ll verify that once we make some changes in the repository, it triggers a deployment and updates the App Service with the latest changes.
To read more about Azure, you can visit our Azure with ASP.NET Core page, where you can find all the articles from the series.
Creating an App Service
The first step is to create an App Service. In the Publishing an ASP.NET Core App to Azure App Service Using Visual Studio article, we learned how to do that using Visual Studio. In this article, we are going to do that directly from the Azure Portal.
Creating a new App Service from the Azure Portal
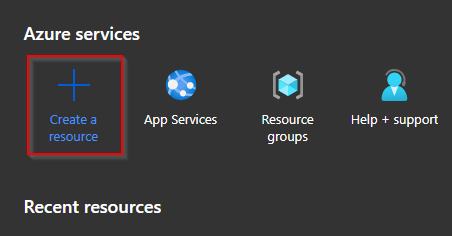
We can create a new App Service by clicking on the Create a resource option from the Azure Portal home page:
Then, on the next screen, we can choose the Web App from the Azure Marketplace for creating a Web App type App Service:
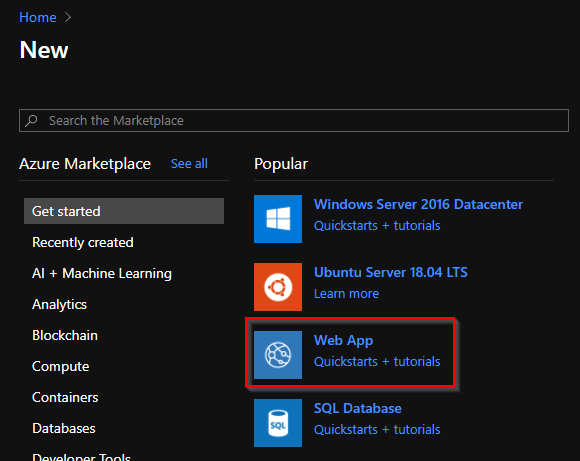
This will take us to the Create Web App screen.
Giving the Basic Details for the Web App
Let’s fill in a few details in the Basics tab of the Create Web App screen:
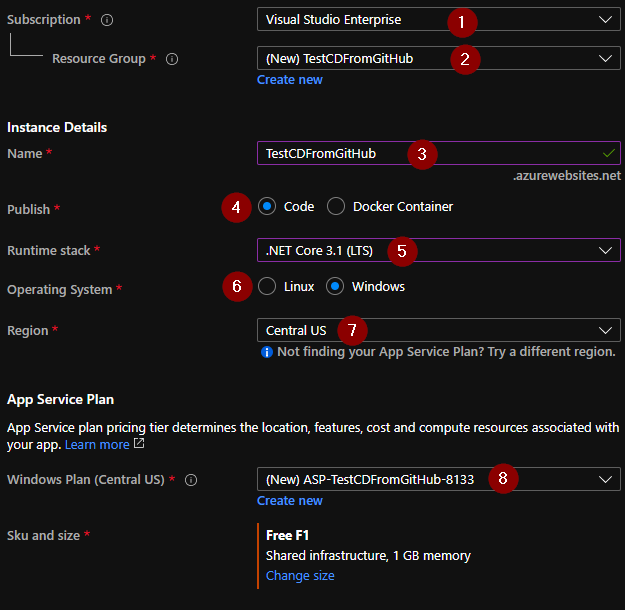
- First, we need to choose an existing Subscription.
- Then, we can either choose an existing Resource Group or create a new one. This acts as a container that holds related resources for a solution.
- After that, we can give a Name for our app. This will be used to access our app later.
- There are two options to publish our app – We can do it either via Code or Docker Container. We need to choose one option. Let’s choose Code.
- Next, we need to choose a Runtime Stack. Let’s choose .NET Core 3.1 for our app.
- Then we can choose the Operating System to run our app. Let’s choose Windows for our app.
- After that, we can choose the Region where our app will reside in. For the best results, we always need to choose a Data Centre that is close to our customers. Let’s host this app in the Central US region.
- Based on the Region and Computing Resources that we selected, we can either choose one of the existing App Service Plans or create a new one. An App Service Plan is specific to a Region and is used to define the hardware capacity and features that our app supports. Once we create an App Service Plan, we can create multiple apps using it.
Completing the App Service Creation Process
There are a couple of other tabs as well, but those are optional and we can skip those for this article. After giving all these values, we can initiate the App Service creation by clicking on the Review + Create button. Once the validation is successful, we can confirm and create the App Service by clicking on the Create button.
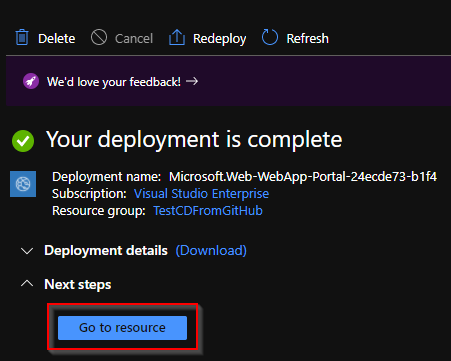
This will create our App Service in a short while and we’ll get notifications about the progress. Once the App Service is created, we will see a button that will take us to it:
After opening the newly created App Service, let’s navigate to the URL of the new app https://testcdfromgithub.azurewebsites.net:
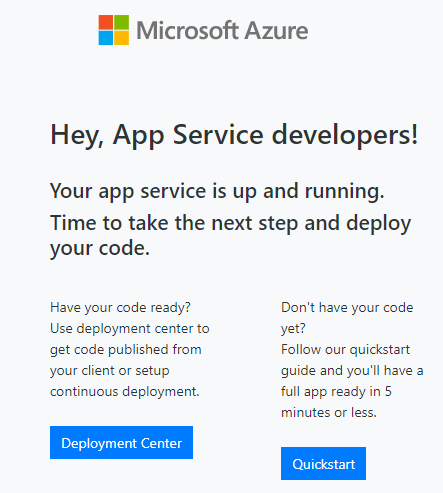
This page indicates that our app is up and running, which is great!
What we see here is the default page that is created with a new App Service. Remember that we don’t have any code deployed into it yet. But don’t worry, we are going to do that soon!
Prepare Deployment Center for Continuous Deployment
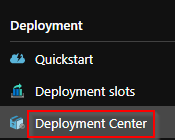
By using the App Service Deployment Center, we can choose the location of our code as well as configure the build and deployment to the App Service. We can navigate to the Deployment Center by clicking on its menu item in the left pane:
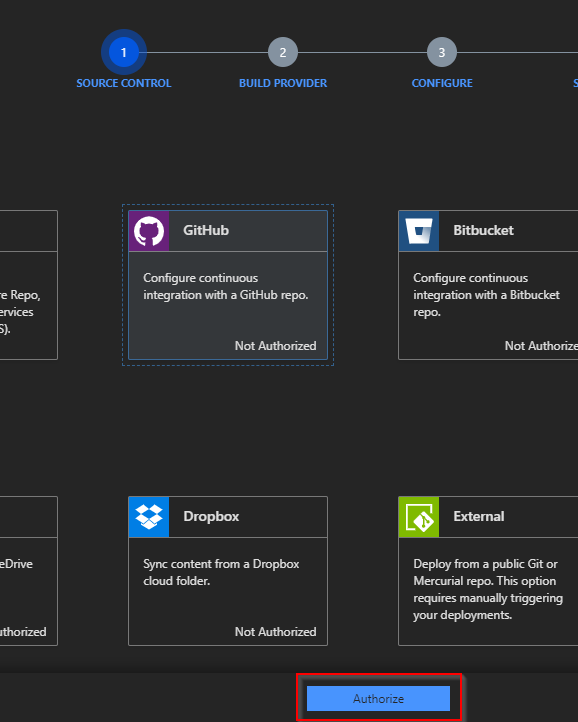
In the Deployment Center, the first step is to choose our source control:
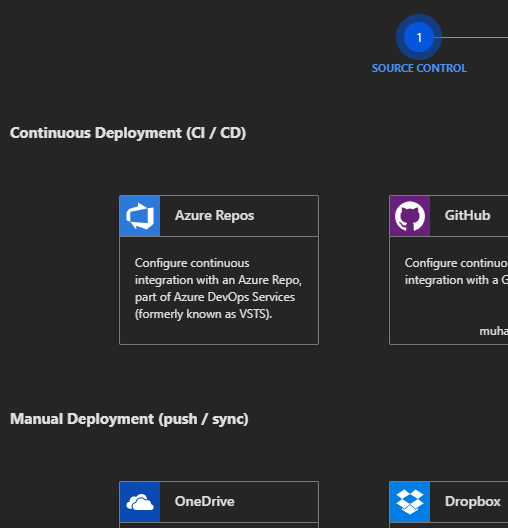
It supports two types of deployment:
- We can configure Continuous Deployment using the CI/CD pipeline from many services like Azure Repos, GitHub, BitBucket, etc.
- It is also possible to manually deploy our code from services like OneDrive, Dropbox, etc, or using an FTP connection.
In this article, we are going to configure Continuous Deployment from GitHub.
Preparing a GitHub repository
The next step is to configure a GitHub repository for our source code. Please note that this step might not be required for everyone. In case we already have a GitHub account and an ASP.NET Core application in one of the repositories, we can skip this step and directly go to the next section.
If we don’t have a GitHub account, It is possible to sign up for a free account very quickly. GitHub supports unlimited free repositories even on free accounts.
For this article, we are not going to create a new repository, instead, we are going to use one of our existing application’s code. Let’s take the source code from the Getting Started with ASP.NET Core MVC article. The completed source code for that article is available at Getting Started with ASP.NET Core MVC Source Code. We can fork the repository so that we’ll get a separate copy of that repository in our account and can work independently on it:
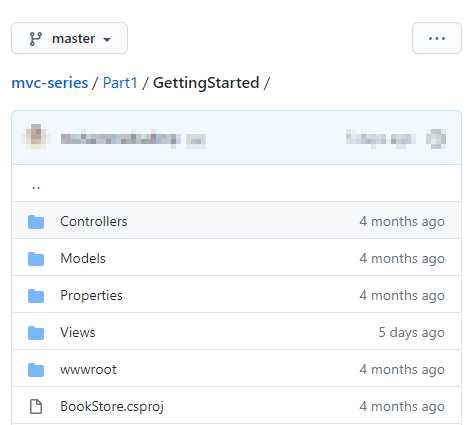
Great! We have configured an ASP.NET Core application in our GitHub repo.
Authorizing the App Service to connect to GitHub repo
The next step is to authorize the App Service to connect to the GitHub repo.
In the App Service Deployment Center, once we choose the GitHub option for the source control, the Authorize button shows up and we can click that to start the authorization process:
On clicking the Authorize button, a dialog appears and we can click on the Authorize AzureAppService button to confirm the authorization:
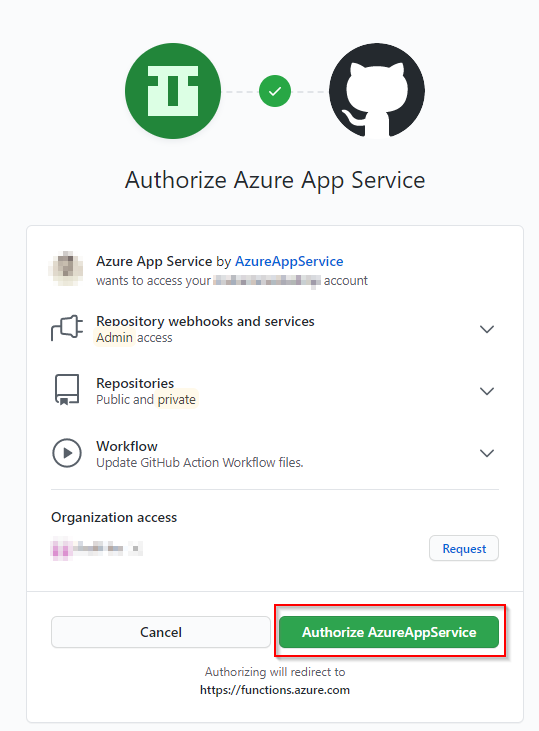
We may have to provide our GitHub credentials in case the GitHub session is not active in the browser.
Configuring Continuous Deployment
Once the authorization step is completed, the next step is to configure the Continuous Deployment.
Configuring App Service Build Provider
While configuring continuous deployment, the first thing we need to do is to choose a build provider. We can choose the App Service Build Service as the build provider and click continue:
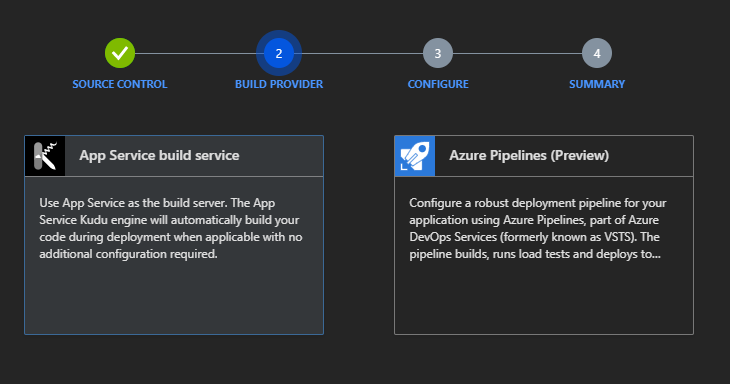
Azure App Service has an inbuilt Kudu engine that can build and deploy our application from Git services.
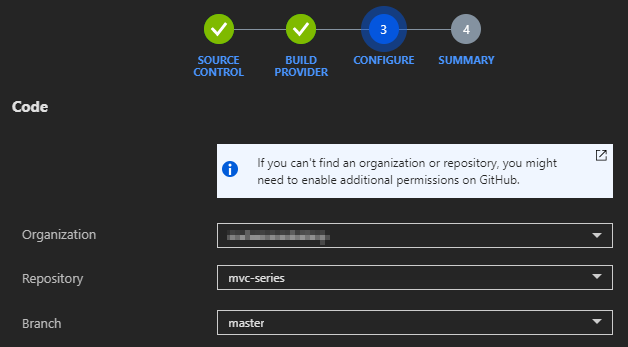
Configuring the Code for Continuous Deployment
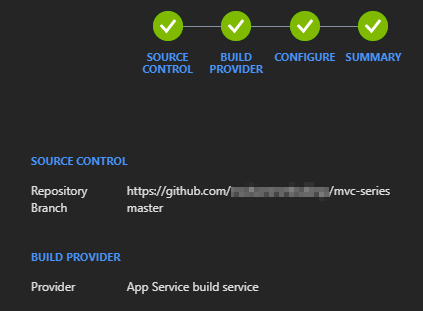
In the next step, we can configure our code by choosing the Organization, Repository, and Branch from our GitHub account:
Once we verify all the details in the Summary screen, we can complete the process by clicking on the Finish button:
As soon as we complete this process, it will trigger a build and deployment.
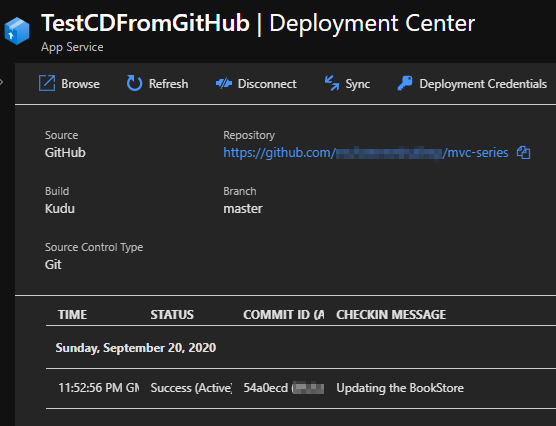
Once we configure the deployment, the Deployment Center will start listing all the deployments with an additional option to drill down into the detailed logs. Each deployment will also show information about the commit in Git that triggered it:
Great! We have successfully configured Continuous Deployment from GitHub to the App Service.
Testing the Continuous Deployment
It’s time to test our changes. Let’s verify our changes by navigating to the app URL once again:
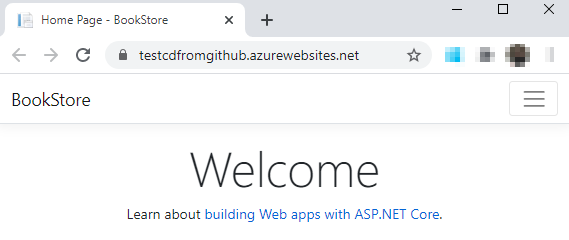
We can see that the latest code from GitHub is deployed into the App Service. Cool!
Making changes in GitHub repo
Remember that we have configured Continuous Deployment from GitHub to the App Service. This means, if we make any changes to the code in GitHub, it will trigger a new deployment with the latest changes. We can test this by making some changes to our application.
Let’s make some changes to the Index.cshtml file:
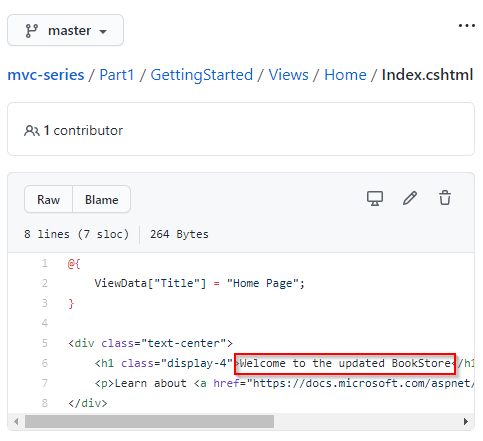
Once this change is committed, We can verify that this commit triggers a CI/CD in App Service Deployment Center:
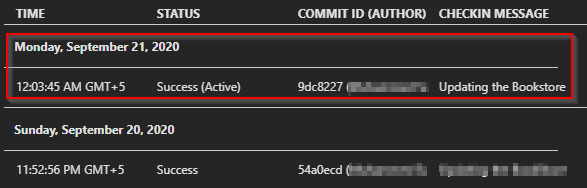
Cool! Once the deployment is completed, let’s verify that the latest changes are updated in the app:
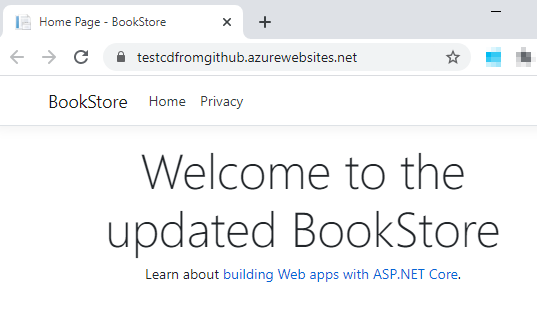
Excellent!
We can see that any changes that we commit to the GitHub repository are now pulled into our App Service Deployment Center. It then builds the code using the App Service Build engine and deploys the latest version of code to the app:
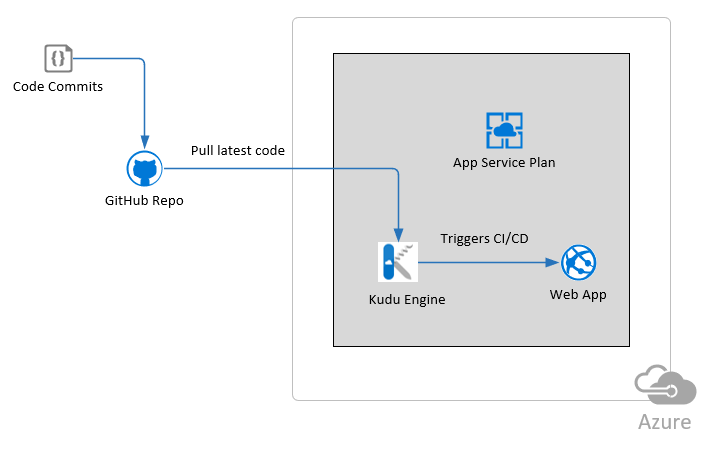
This picture summarizes the deployment architecture that we have implemented in this article.
Conclusion
In this article, we learned the following topics:
- How to create an App Service from Azure Portal
- Exploring the App Service Deployment Center
- Authorizing the App Service to connect to a GitHub repo
- Configuring Continuous Deployment in App Service Deployment Center
- How the code changes in the GitHub repo triggers new deployments, thereby updating the app.
See you in the next one.

