In this article, we are going to learn how to return a file in an ASP.NET Core Web API and some concepts behind it. That said, we are going to implement a simple Web API to read a local file and return this file to download.
Let’s start it.
VIDEO: How to Return a File From a Web API.
What is a MIME type?
Before we get to the code, we need to understand a couple of concepts to work with files on the internet.
Once file extensions have no meaning for the web, the MIME Type (Multipurpose Internet Mail Extensions), is responsible for representing the nature and the format of a document we want to transmit over the internet.
The MIME Type structure consists of a type, a slash separator, and a subtype.
For this article, we are going to return a .png image, that said, we are going to use image/png as MIME Type to define our file.
It is good to mention that, application/octet-stream is a default MIME Type in case we need to return an unknown file.
To learn more about the most common MIME Types, check the Common MIME Types article.
About Byte Array and Stream
In C#, we can represent binary data (a file, an image, or anything else stored on our computer) using byte[] or Stream instance.
A byte array (byte[]) is a simple array of bytes (unsigned 8-bit integer) containing the bytes of the file.
Stream is an abstract class to represent a sequence of bytes. The most common class that derives from Stream is FileStream and MemoryStream.
You can check the Convert Byte Array to File in C# article to learn more about byte arrays and the C# Back to Basics – Files, StreamWriter and StreamReader to learn more about Stream.
Web API Controller Preparation
Once we have an ASP.NET Core Web API ready, let’s create an empty API Controller:
[Route("api/[controller]")]
[ApiController]
public class DownloadsController : ControllerBase
{
    private readonly IFileService _fileService;
    private const string MimeType = "image/png";
    private const string FileName = "CM-Logo.png";

    public DownloadsController(IFileService fileService)
    {
        _fileService = fileService;
    }
}
Note that we have a _fileService, a MimeType, and a FileName field. The _fileService contains the logic to transform the file into a byte array or a stream. For this article, we are not going into detail about how to do it, however, you can check the FileService class implementation in our source code.
The MimeType field represents the nature of the file we want to return and the FileName represents a suggestion file name to download.
Return a File in ASP.NET Core Web API As a ByteArray
Now, let’s create our first ReturnByteArray action to return a file using Byte Array:
[HttpGet("images-byte")]
public IActionResult ReturnByteArray()
{
    var image = _fileService.GetImageAsByteArray();

    return File(image, MimeType, FileName);
}
Note that this is an images-byte route with the Get HTTP Verb. Once we are using the same file result for every request, we don’t need any input parameter.
So, first, we use GetImageAsByteArray() from the FileService class to retrieve the image we want to return as an array of bytes.
Then, we return a call to the File method passing the image file as a byte array, the mimeType we set as a class field, and the file name we want to return, as parameters.
The File method lives under the ControllerBase abstract class and returns a FileContentResult, which is responsible to provide the file to download.
Return a File in Web API As a Stream
Now, let’s create a ReturnStream action:
[HttpGet("images-stream")]
public IActionResult ReturnStream()
{
    var image = _fileService.GetImageAsStream();

    return File(image, MimeType, FileName);
}
We are going to keep the Get HTTP Verb, but this time, we set our route to images-stream.
This action is similar to the one in which we are using byte[] with the exception that, now, we are calling the GetImageAsStream() method from the FileService class.
Finally, we return a call to the File method. Note that this time we are passing a Stream object instead of a byte[] as the first parameter. This is possible because the File method has many overloads.
Downloading The File
Now that our code is ready, let’s check the behavior against when we are using swagger, postman, and the browser.
Using Swagger
Once we run the Web API application, we can see our two routes in Swagger:
/api/Downloads/images-byte
/api/Downloads/images-stream
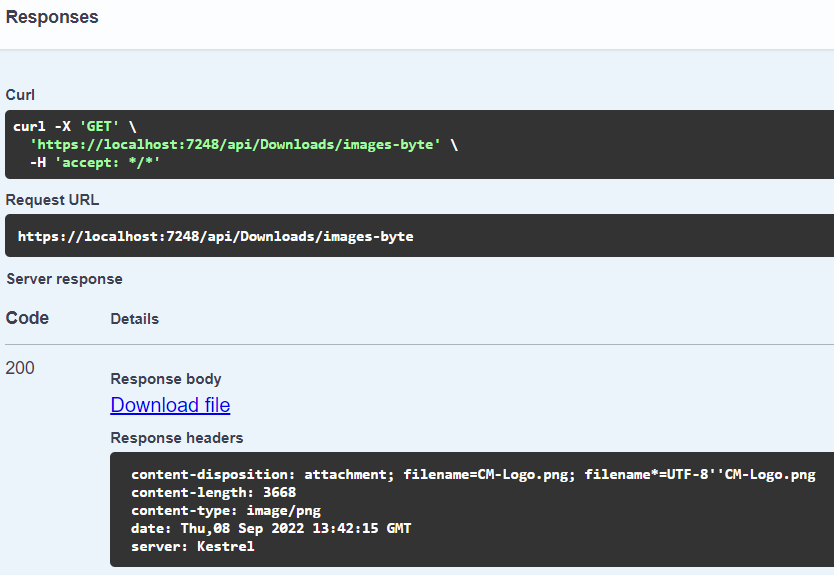
Let’s call the images-byte route and check the result:
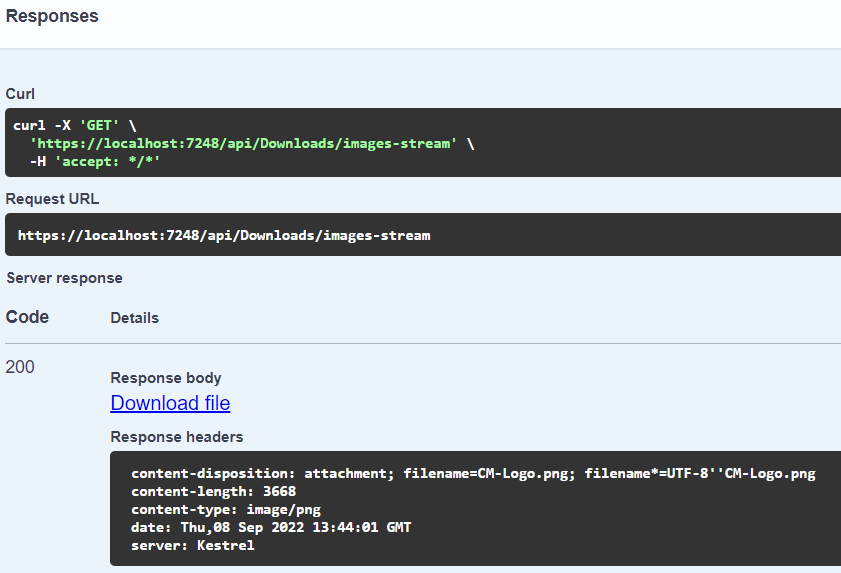
Now, let’s execute the images-stream route:
As we can see, in both cases we received an HTTP Status Code 200 as a result, indicating success and, as a response body, a link to download the image.
Checking the Result Using Postman
Let’s check the behavior when we make requests via Postman:
As we can see, different from Swagger, Postman doesn’t provide us a link or open the dialog box to download the image. Instead, it shows the image in its body response.
Browser
When we call any route (images-byte or images-stream) the browser downloads the image into the default download folder or opens the dialog box to indicate which folder we want to save the file.
Conclusion
In this article, besides learning some concepts behind how the web handles files, we have seen how to return a file using Asp.Net Core Web API. Also, we have checked how swagger, postman, and browser behave when we request a file in a Web API.


