

Filters in ASP.NET Core MVC allow us to run certain actions before or after specific stages in the request processing pipeline. There are some built-in filters in ASP.NET Core. We can also write custom filters to execute actions at various stages of the request pipeline. They also help us to handle cross-cutting concerns and avoid duplication of codes.
We have discussed Filters in detail in the Implementing Action Filters in ASP.NET Core article. In that article, we have explained how to implement an Action Filter in an ASP.NET Core Web API application. In this article, we’ll explain the different Filter types available in ASP.NET Core MVC and how to implement each type.
If you’ve missed some of the previous articles in the series we recommend visiting the series page: ASP.NET Core MVC Series.

To download this article’s source code visit: Filters in ASP.NET Core MVC.
First, let’s look at the different types of Filters available in ASP.NET Core MVC.
Filter types
Each filter type is executed at a different stage in the request pipeline.
Authorization filters are run first and are used to determine whether the current user is authorized for the current request. They can short-circuit the pipeline if a request is unauthorized.
Resource filters come right after the authorization. We can use it to implement caching or short-circuit the filter pipeline for performance reasons.
Action filters can run code immediately before and after an individual action method is called. We can use it to manipulate the arguments passed into action and the result returned from the action. Razor Pages do not support Action filters.
Exception filters are used to globally handle all unhandled exceptions that occur in the application.
Result filters can run code immediately before and after the execution of individual action results. They run only when the action method has executed successfully.
Authorization Filter
Authorization filters control access to action methods. They are the first filters to be executed within the filter pipeline. They have a before method called OnAuthorization(), but they don’t have an after method.
Implementation
Let’s implement an Authorization Filter. For that, we need to implement IAuthorizationFilter interface and the OnAuthorization() method inside it.
In the filter, let’s define a field called _permission which is supplied via the constructor. We can also create a method CheckUserPermission() that performs the authorization logic.
For testing purposes, let’s assume that the hypothetical user always has just the Read permission and no Write permission. When the user is not authorized, we can set the Result property of the HTTP Context as UnauthorizedResult which will short circuit the execution pipeline.
Let’s create the AuthorizeActionFilter class:
public class AuthorizeActionFilter : IAuthorizationFilter
{
    private readonly string _permission;

    public AuthorizeActionFilter(string permission)
    {
        _permission = permission;
    }

    public void OnAuthorization(AuthorizationFilterContext context)
    {
        bool isAuthorized = CheckUserPermission(context.HttpContext.User, _permission);

        if (!isAuthorized)
        {
            context.Result = new UnauthorizedResult();
        }
    }

    private bool CheckUserPermission(ClaimsPrincipal user, string permission)
    {
        // Logic for checking the user permission goes here.

        // Let's assume this user has only read permission.
        return permission == "Read";
    }
}
Now, let’s create an Attribute for the filter that we just created using the TypeFilterAttribute:
public class AuthorizeAttribute : TypeFilterAttribute
{
    public AuthorizeAttribute(string permission)
        : base(typeof(AuthorizeActionFilter))
    {
        Arguments = new object[] { permission };
    }
}
We have the Authorize attribute ready for use now. Now let’s use it in our application.
For testing this attribute, let’s create 3 controller actions – Index(), Read() and Edit().
Let’s leave Index() method without specifying the Authorize attribute. For the Read() method, let’s specify Authorize attribute with Read permission. Let’s specify the Authorize attribute with Write permission for the Edit() method:
public IActionResult Index()
{
    return View();
}

[Authorize("Read")]
public IActionResult Read()
{
    return View();
}

[Authorize("Write")]
public IActionResult Edit()
{
    return View();
}
Testing
Remember that for testing purposes, we implemented the filter in such a way that only Read permission is available for all users.
Let’s run the application and navigate to \home\index:
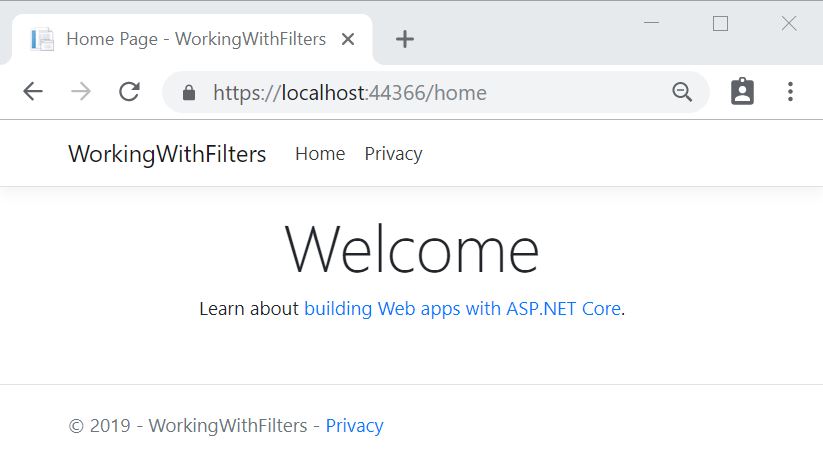
Since no authorization is required, it works fine.
Now let’s navigate to \home\read:
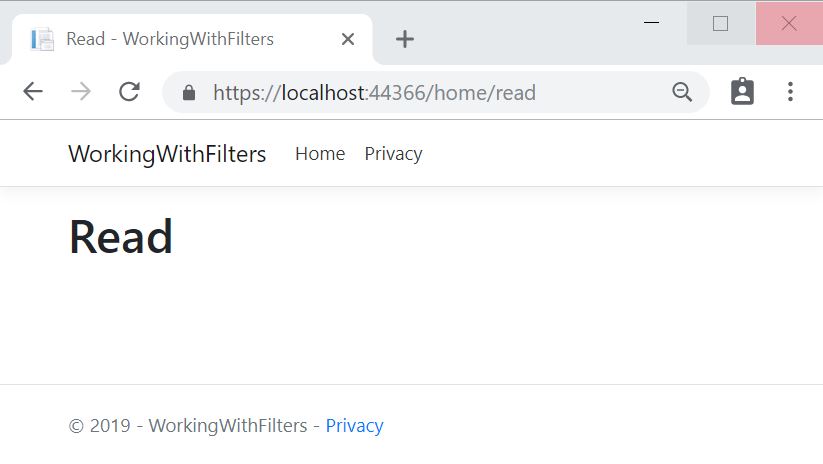
This action method requires Read permission which is available for the user.
If we place a breakpoint in the OnAuthorized() method in the AuthorizationFilter, We can verify that it is not executed for the Index() method but is executed for the Read() method.
Now let’s navigate to \home\edit:
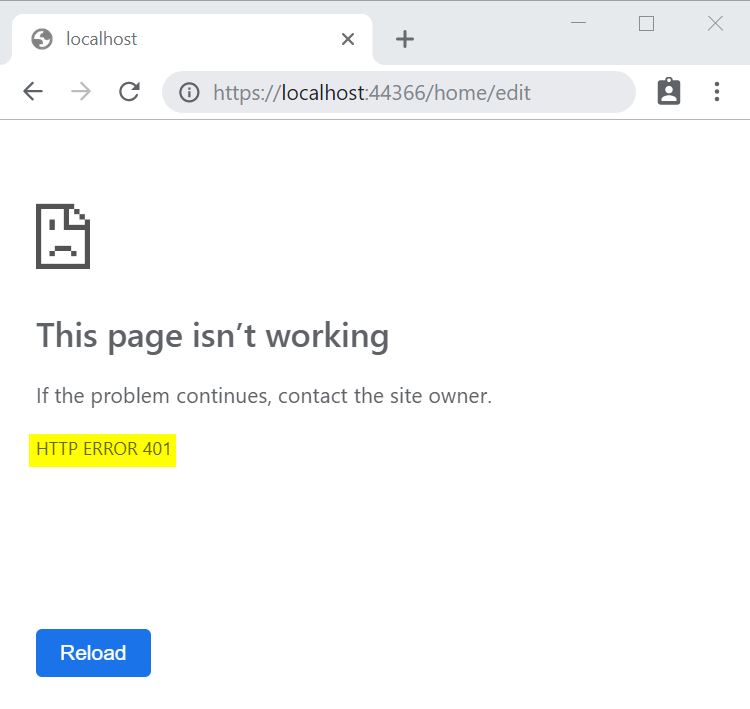
This action requires the Write permission which is not available for the user and hence it throws an HTTP ERROR 401 denoting an unauthorized request.
What we see here is the standard browser error page for HTTP 401 Response. We can also create custom error pages corresponding to various status codes in our application for a better user experience.
In this section, we have learned how to implement an Authorization Filter.
Resource Filters
As we understand from the name, Resource filters can be used for handling resources and helps to short circuit the request execution pipeline if required. A common usage of this type of filter is the implementation of Caching. This can avoid the rest of the pipeline when a Cache hit happens.
Implementation
Let’s look at how we can implement caching using the resource filter.
First, let’s define a class CacheResourceFilter implementing IResourceFilter interface. The Resource filter has a before method OnResourceExecuting() and an after method OnResourceExecuted().
Let’s define a dictionary object _cache for holding the cached value and a string value _cacheKey for storing the Cache key:
public class CacheResourceFilter : IResourceFilter
{
    private static readonly Dictionary<string, object> _cache
            = new Dictionary<string, object>();
    private string _cacheKey;

    public void OnResourceExecuting(ResourceExecutingContext context)
    {
        _cacheKey = context.HttpContext.Request.Path.ToString();
        if (_cache.ContainsKey(_cacheKey))
        {
            var cachedValue = _cache[_cacheKey] as string;
            if (cachedValue != null)
            {
                context.Result = new ContentResult()
                { Content = cachedValue };
            }
        }
    }

    public void OnResourceExecuted(ResourceExecutedContext context)
    {
        if (!String.IsNullOrEmpty(_cacheKey) && !_cache.ContainsKey(_cacheKey))
        {
            var result = context.Result as ContentResult;
            if (result != null)
            {
                _cache.Add(_cacheKey, result.Content);
            }
        }
    }
}
In the OnResourceExecuting() method, we can check if the _cacheKey is present in the _cache dictionary. If it is present, we set the context.Result with the cached value. We can short-circuit the filter pipeline by setting the context.Result property.
In the OnResourceExecuting() method, we check if the _cacheKey is already present in the _cache. If not, we’ll insert the context.Result value into the _cache.
Then, let’s create an attribute for this filter:
public class CacheResourceAttribute : TypeFilterAttribute
{
    public CacheResourceAttribute()
        : base(typeof(CacheResourceFilter))
    {
    }
}
Finally, let’s create a controller and an action method to return a text indicating the time at which the content was generated. Also, let’s decorate the controller with the CacheResource attribute we just created.
[CacheResource]
public class CachedController : Controller
{
    public IActionResult Index()
    {
        return Content("This content was generated at " + DateTime.Now);
    }
}
Testing
Now, let’s run the application and navigate to /cached:
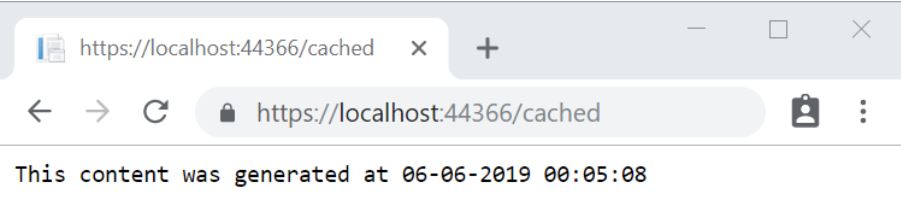
When we access this URL for the first time, we can see the content is generated with the current timestamp. Then, for all subsequent access to the same URL, we’ll get a cached version of the resource. We can verify this by checking the timestamp in the URL. Also, if we place a breakpoint in the controller action method, we can see that it is hit only in the first request. For all subsequent requests, we can see that we have short-circuited the execution pipeline by using the resource filter.
Great! We have learned how to implement a Resource Filter.
Action Filters
Action filters run right before and after each action, the method is executed. We have discussed implementing an action filter in detail in the article section: Action Filters Implementation.
The linked article shows how to implement an action filter in an ASP.NET Core Web API application. We can follow the same steps for implementing action filters in an ASP.NET Core MVC application.
Implementation
Let’s create an action filter that handles invalid models. If the model is invalid, we are going to return a standard BadRequest response with a custom message.
Our custom validation class needs to inherit from the abstract ActionFilterAttribute class and override the OnActionExecuting() and OnActionExecuted() methods:
public class ValidateModelAttribute : ActionFilterAttribute
{
    public override void OnActionExecuting(ActionExecutingContext context)
    {
        var param = context.ActionArguments.SingleOrDefault();

        if (param.Value == null)
        {
            context.Result = new BadRequestObjectResult("Model is null");
            return;
        }

        if (!context.ModelState.IsValid)
        {
            context.Result = new BadRequestObjectResult(context.ModelState);
        }
    }

    public override void OnActionExecuted(ActionExecutedContext context)
    {
    }
}
The OnActionExecuting() runs before the action method and OnActionExecuted() after the action method.
In the OnActionExecuting() method, we can check if the Model is null or ModelState is invalid. In both these cases, we can return a BadRequest response. This way we can handle this across the application instead of having to write this code in each of the action methods.
Now let’s use this filter in an action method:
[ValidateModel]
[HttpPost]
public IActionResult Create([FromForm]Book book)
{
    return View();
}
Testing
If we call this action method without supplying a valid Book model, we can see the standard BadRequest response with the custom message that we have given:

That’s it! In this section, we have looked at how to implement an action filter.
Exception Filters
Exception Filters are used to handle any unhandled exceptions that occur in our application. They do not have before or after methods. They just implement the OnException() method. This method will be called whenever an unhandled exception occurs in our application.
Implementation
To see the exception filter in action, let’s create an action method that generates an unhandled exception:
public IActionResult GenerateError()
{
    throw new NotImplementedException();
}
Now, let’s create a custom exception filter by implementing the IExceptionFilter interface. We can provide the required exception handling behavior in the OnException() method:
public class CustomExceptionFilter : IExceptionFilter
{
    private readonly IModelMetadataProvider _modelMetadataProvider;

    public CustomExceptionFilter(
        IModelMetadataProvider modelMetadataProvider)
    {
        _modelMetadataProvider = modelMetadataProvider;
    }

    public void OnException(ExceptionContext context)
    {
        var result = new ViewResult { ViewName = "CustomError" };
        result.ViewData = new ViewDataDictionary(_modelMetadataProvider, context.ModelState);
        result.ViewData.Add("Exception", context.Exception);

        // Here we can pass additional detailed data via ViewData
        context.ExceptionHandled = true; // mark exception as handled
        context.Result = result;
    }
}
In the OnException() method, we can set the ViewResult as CustomError . Then we can pass the exception details into the view as ViewData.
After that, we’ll create the CustomError view and display the error message in a user-friendly manner:
@{
    ViewData["Title"] = "CustomError";
    var exception = ViewData["Exception"] as Exception;
}

<h1>An Error has Occurred</h1>

<p>@exception.Message</p>
Then, we need to configure the exception filter in startup.cs:
public void ConfigureServices(IServiceCollection services)
{
    services.AddControllersWithViews(config =>
        config.Filters.Add(typeof(CustomExceptionFilter)));
}
Testing
Now, let’s run the application and navigate to \home\generateerror:
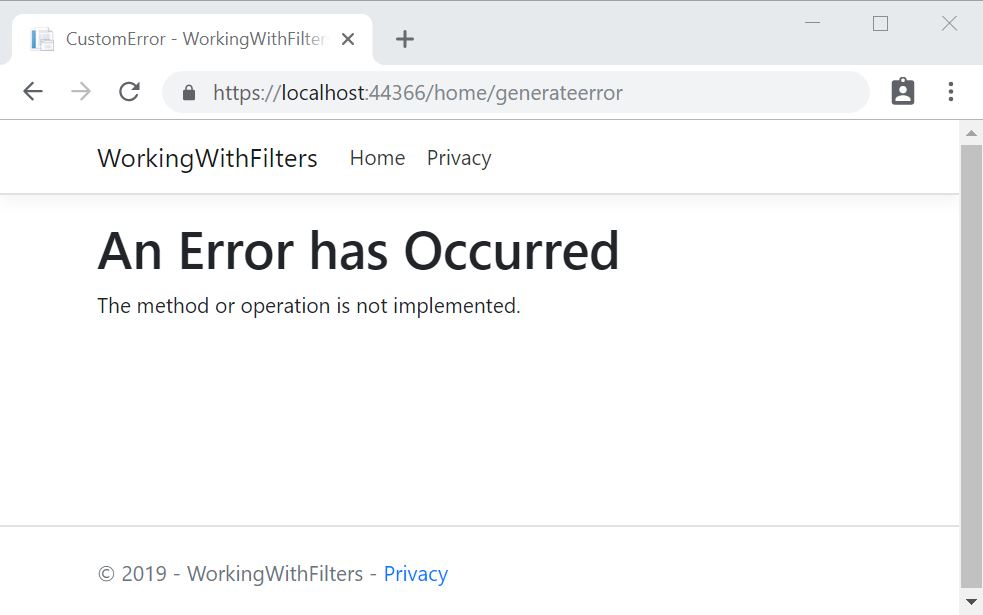
We can see that a custom error page is displayed with details of the exception which we can customize to show only the required information to the user. This way, we can give the user a much better experience and we can handle exceptions across the application in a consistent manner.
Exception Handling – Middlewares vs Filters
Additionally, we can use middleware for handling unhandled exceptions. So, when should we use an exception handling middleware and when should we go for an exception filter?
If we are concerned about errors that may occur outside of the MVC context or our code, for example, we may want to capture an error that occurs inside a middleware or a filter, then we’ll have to go for an exception handling middleware. On the other hand, if we want to get the MVC context during exception handling and perform some action based on that, then we’ll have to use an exception filter.
In this section, we have learned how to implement an exception filter in our application.
Result Filters
We can use Result filters to run code before or after the execution of controller action results. They are executed only if the controller action method is executed successfully. We can write logic to surround the view or to apply some customizations to all the action results in our application.
Let’s say we want to add a particular value to the header of all the action results in our application.
We are going to take a look at how to implement this using a result filter.
First, let’s create a class AddHeaderFilter that implements the IResultFilter interface. Result filter has a before method called OnResultExecuting() and an after method called OnResultExecuted().
In the OnResultExecuting() method, let’s add a custom response header:
public class AddHeaderFilter : IResultFilter
{
    public void OnResultExecuting(ResultExecutingContext context)
    {
        context.HttpContext.Response.Headers.Add(
            "OnResultExecuting",
            "This header was added by result filter.");
    }

    public void OnResultExecuted(ResultExecutedContext context)
    {
    }
}
After that, let’s create an attribute for the Result filter that we just created:
public class AddHeaderAttribute : TypeFilterAttribute
{
    public AddHeaderAttribute() : base(typeof(AddHeaderFilter))
    {
    }
}
Finally, let’s create an action method in the HomeController and apply the AddHeader result filter attribute.
[AddHeader]
public IActionResult TestResultFilter()
{
    return View();
}
Let’s run the application and navigate to home\testresultfilter.
On inspecting the headers, we can see that the custom header is present in the response:

This way we can use the Result filter to customize the action results across the application.
Great! In this section, we have learned how to implement a result filter.
Conclusion
In this article we have learned the following topics:
- The different types of filters available in ASP.NET Core MVC.
- Creating a custom Authorization Filter.
- Implementing Caching using Resource Filter.
- Using Exception filter to handle unhandled exceptions.
- Adding a custom response header to all our action methods using Resource Filter.
With that, we come to the end of the ASP.NET Core MVC series. We hope you enjoyed reading through and had some good learning in the process!